Before the bow there was the atlatl, a hunting and survival tool with primitive origins. The atlatl’s simplicity masks its effectiveness, and in a survival situation, this is an item that can save your life by giving you the ability to create a useful hunting and defense tool.
Read on to learn about the atlatl and why you should practice building one as an addition to your survival skillset.
An atlatl, sometimes referred to as a spear-thrower, is a tool that uses leverage to enhance the velocity of a dart. If you think back to learning about simple machines in grade school, an atlatl is essentially a lever that uses simple machine force to throw the shaft farther than could be done with arm strength alone.
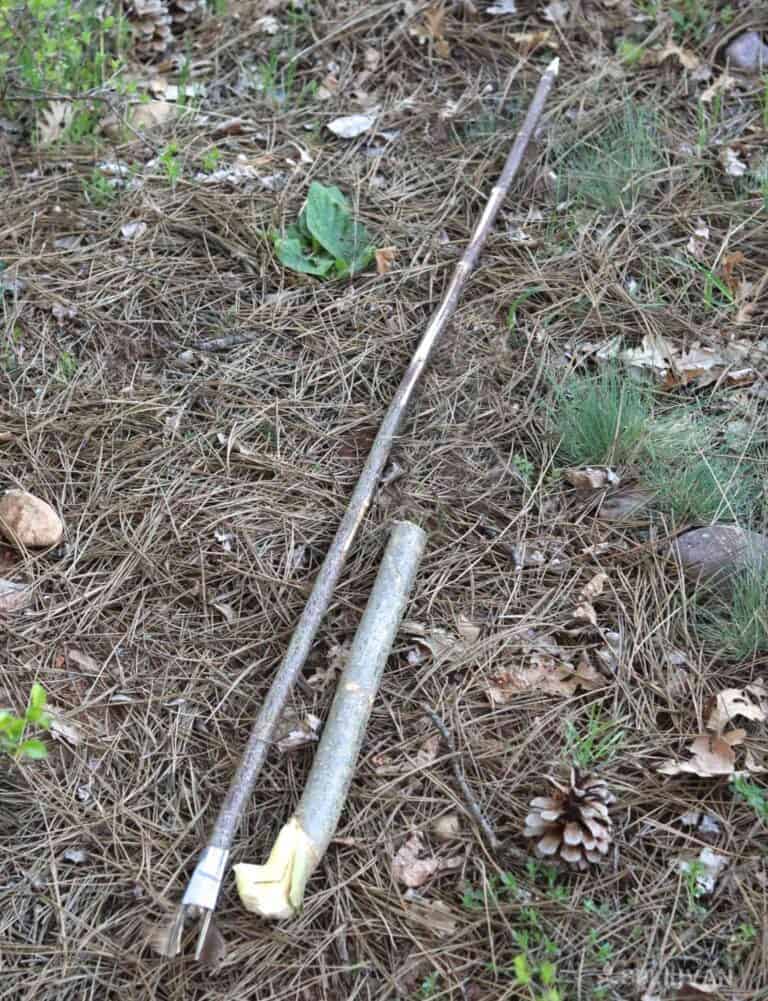
The atlatl is made of three main parts: a grip, a hook and a shaft. The grip and hook are a single piece of branch or carved wood that engages the end of the shaft, a spear that can be as long as 6 feet.
The shaft has fletching on the end and sometimes a weight is added in the middle of the shaft to increase velocity and accuracy.
As far back as the Paleolithic era, 300,000 years ago, early humans were using the atlatl to hunt animals up to the size of mammoths.
A hunter could throw a long spear up to around 100 miles per hour (by modern estimates) and penetrate deep into an animal’s hide. There is evidence to show that the atlatl was used in every continent in ancient times with the possible exception of Africa.
While the atlatl was a common hunting tool in ancient times, it because an offensive weapon in some early Western societies.
Roman armies would use leather slings called amentum similarly to the handle of an atlatl to throw projectiles before charging or defending. The effect of this would disorientate the other army and give the Romans an advantage on the field.
The Aztecs also famously used atlatls as a weapon, even until the Spanish came in the 1500’s. In Aztec society, only the best warriors or royalty were allowed to use them. In fact, the word atlatl comes from the Aztec language, showing the prominence of the weapon in Aztec society.
In modern times, atlatls are primarily used in competition. In America, a few colleges have atlatl teams that compete for accuracy and distance. Recently, a throw of 260m was recorded in a competition. Apart from this, modern hunter-gather societies in the Amazon use the atlatl to hunt until this day.
The link below is to an episode of “Top Shot” an American TV show where the presenters were given a challenge to use atlatl for accuracy.
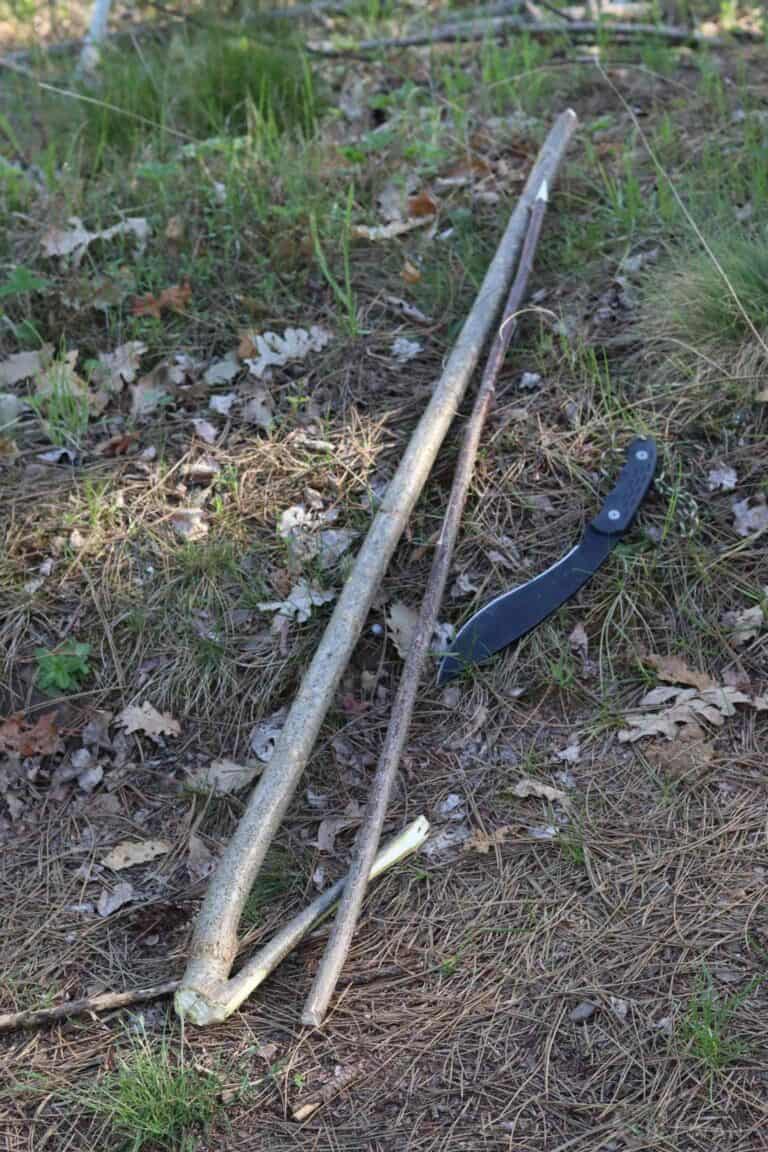
The grip and hook will be one solid piece of wood, thicker than the shaft. It can be straight, though I have found that a slight curve can make for extra comfort, better throwing mechanics and increased velocity. A broken branch at least a foot long should do nicely.
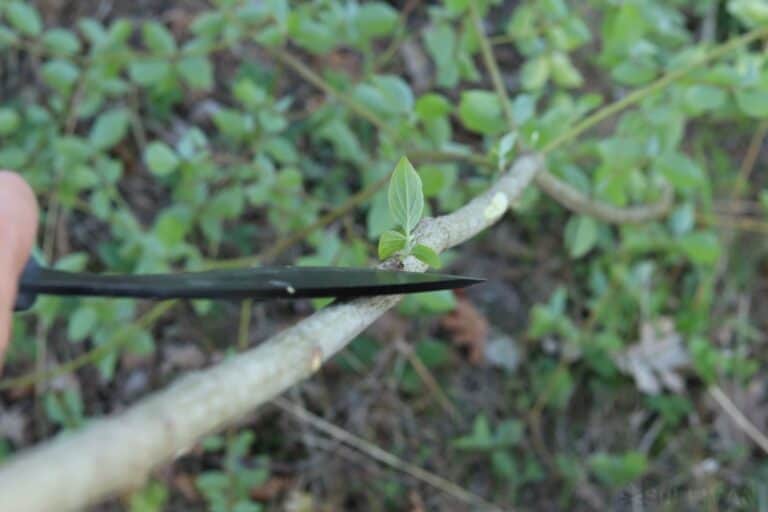
Using your knife, cut off all the leaves or branches to make the shaft smooth:
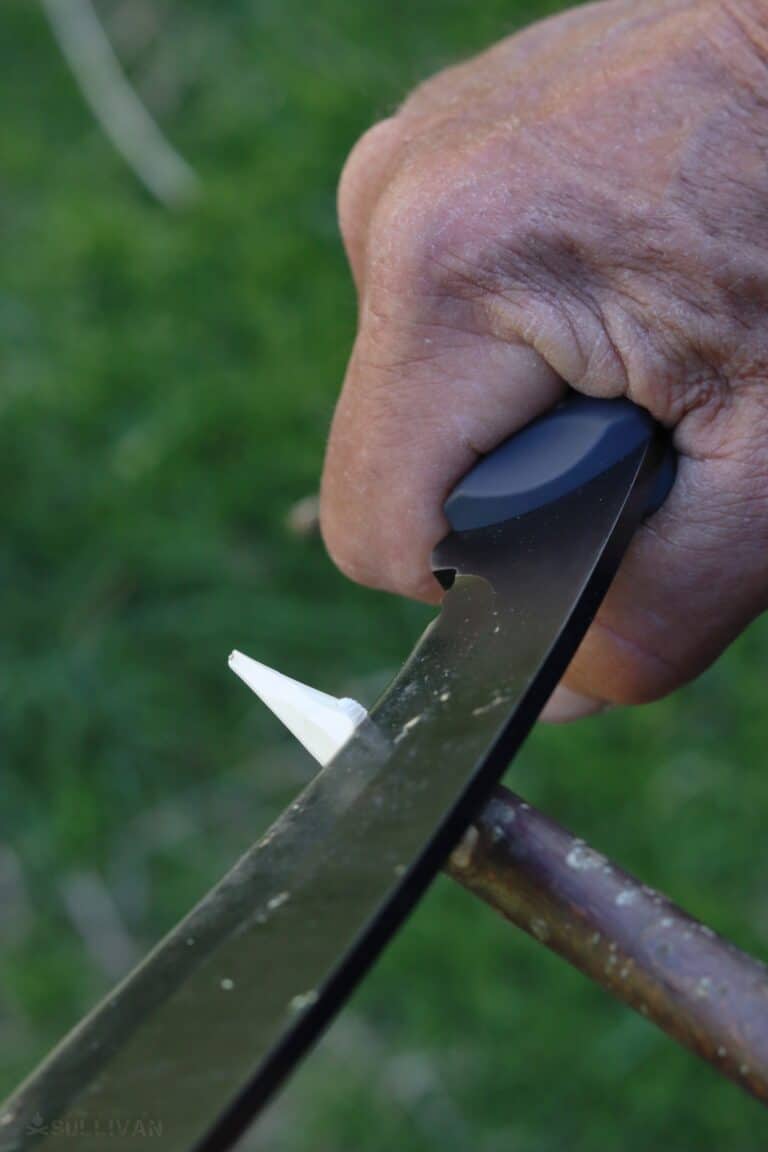
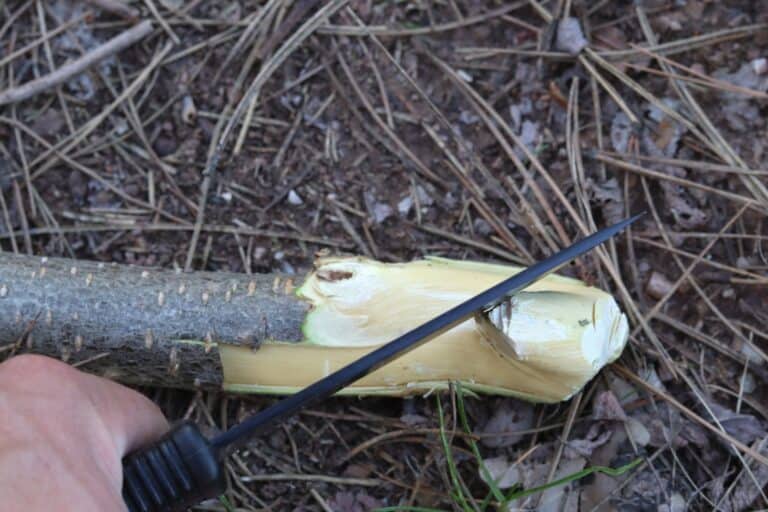
File down the end into a point, and if you have access to a fire, char end of the shaft to give the point more durability and power:
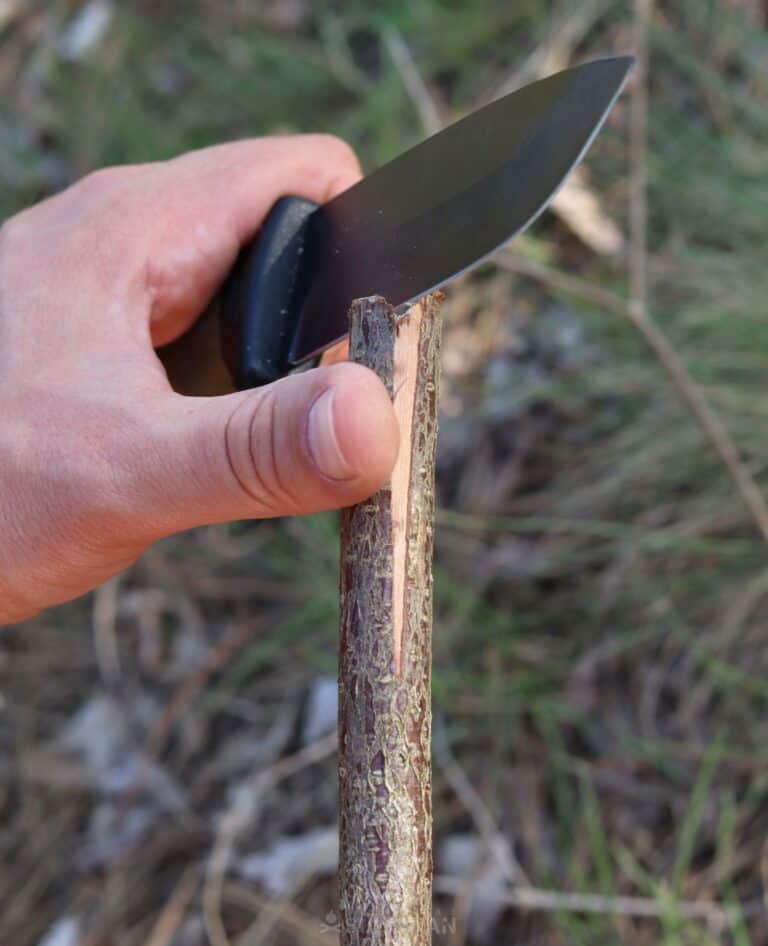
At the other end, use your knife to made a groove in the base of the shaft so that the hook has a place to rest:
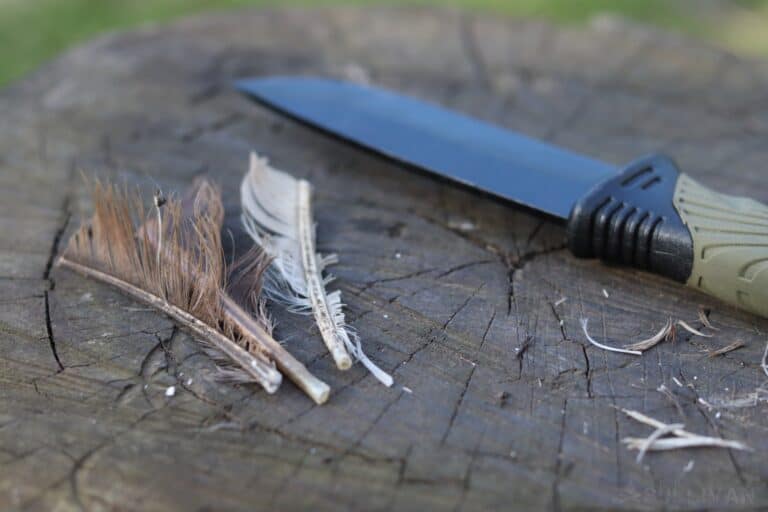
The shaft also needs fletching to improve the accuracy and trajectory. I’ve seen people use homemade pine tar, glue or duct tape to attach the fletching, but it can be done by holding down the feathers and wrapping them with cord.
Another way to do it is to find a few feathers and tie them about 2 inches behind the shaft so that they hang off.
The grip should be a solid piece of branch. It should be about 1-2 inches, pointed, and facing towards the front of the grip.
At one end of the grip you will need to make a hook that fits into the groove you etched into the end of the shaft.
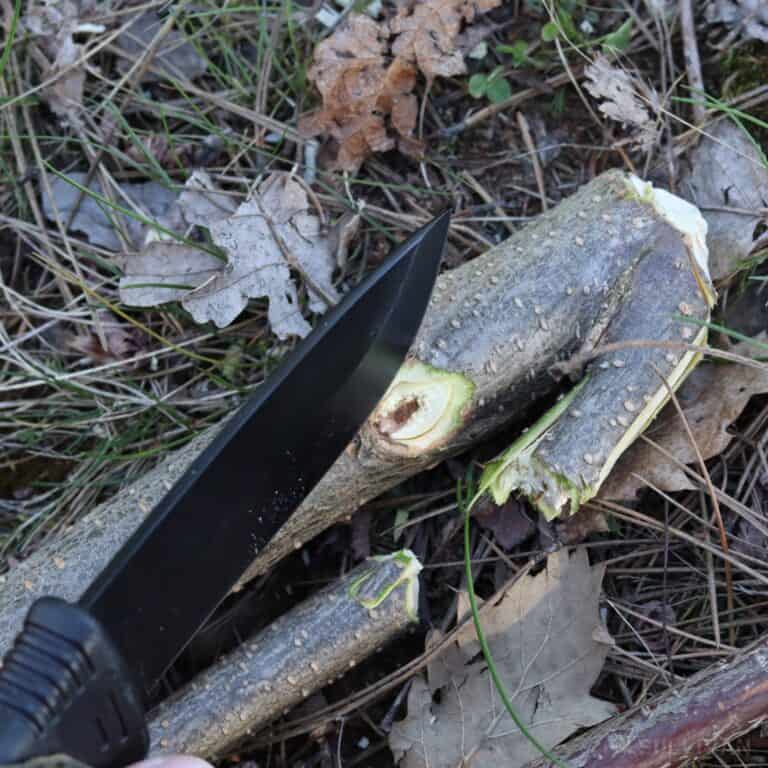
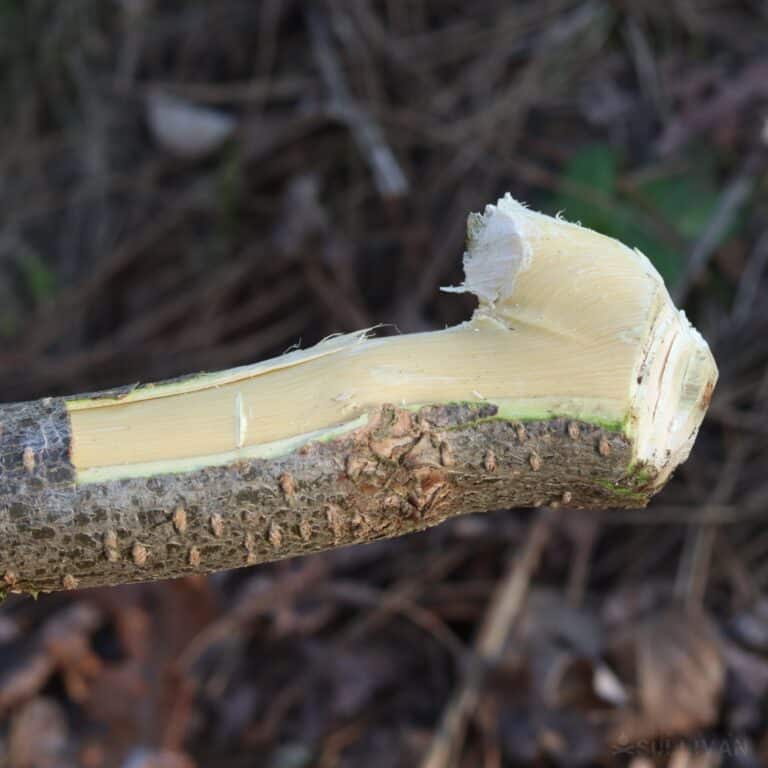
When you are looking for a grip you can often find a branch that already has a hook because of how the branch grew:
You can also carve a recess or pit into the end of the grip instead of a hook. This could be less time-consuming, but it will also mean less velocity on the throw.
I’ve seen some examples of branch atlatls where a small v-shaped notch is cut into the front of the grip so that the shaft won’t move from side to side. This isn’t completely necessary, but it can make for improved stability and mechanics.
The completed atlatl will have the shaft resting on the grip with the hook engaging the groove that you cut into the shaft.
Sounds easy doesn’t it? The truth is, making a survival atlatl is pretty simple.
Upgrades, including a carved grip, weighted shaft, stone or metal arrowhead and purpose-made fletching can improve the performance of the atlatl, but a simple branch atlatl made in a few hours can still perform very well.
While there isn’t necessarily any special technique to throwing an atlatl, proper mechanics will make for a more effective throw. There are steps to be conscious of when throwing, though the motion should be simple and comfortable.
I will break this down into three steps:
To throw an atlatl, stand like you were going to throw a baseball, with the atlatl grip in your hand behind your head.
I like to point my other arm forward and point at my target with my finger as if it’s a gun sight. Your hand should wrap around the grip so that you can hook your pointer finger around the shaft and hold it in place.
From here, the first motion is to shift your weight to the foot underneath the atlatl arm, then take a step forward with your front foot and begin to throw the atlatl across your body. There should be a rotating motion throughout your body.
The wrist snap is an important mechanic to be aware of.
As the atlatl passes next to your head snap your wrist forward and down so that the grip of the atlatl levers against the shaft. This is the important motion that will add velocity to the dart.
The follow through is similar to golf in that you want to keep your head up and eyes on the target. Your arm will go past your head and the dart will be on its way towards the target.
The shaft may flex and move around quite a bit after the follow through, but if it is correctly made and thrown it will balance and sail towards the target.
Like any new skill, it may take some time to perfect the throw, but with practice and time it can become fluid and easy.
One of the most difficult aspects of throwing an atlatl is reading the velocity and arch. Tinker with different shaft woods, fletching and grips to learn the ways that they can affect the performance of your throw.
Like any bushcraft skill there are intricacies to creating something like an atlatl that become apparent as you work.
I recommend practicing building an atlatl so it is part of your prepping skillset because post-collapse, in a survival situation, you won’t have the time to learn. Survival skills are useless if you don’t learn them before SHTF.
In any scenario you will want a list of things that can save your life. If your gun runs out of ammo and your bow out of arrows having an atlatl as another option could mean the difference between having meat for a fire or going hungry.
Have you made a survival atlatl? What are your favorite materials and construction techniques? Comment below to help out your fellow preppers.
Jonathan is a prepper from Youngstown OH, US who’s simply in love with camping and hiking.